Every year I attend a show with my dad and brother, they operate a stall for a week. A few years ago they had a some of their stock stolen in plain sight but they never saw this so since then we have operated a camera system.
The version 1.0 of this was built with 2x cheapo no brand 720p IP cameras and a Synology DS112J NAS this worked well but was kinda crap image quality wise and the cameras was plain flaky. And while the NAS is nice its simply too power hungry to run from our 12v system for a week (during the daytime) so a new setup was required.
Enter Hikvision
So I have been installing Hikvision IP cameras slowly at home and they have proven to be very good cameras. My new favourite brand for IP cameras.
Hikvision cameras are not terribly priced which is one of the best parts. and if your okay with waiting for an eBay bargain you can get even better prices. I have not spent more than £60 on a camera yet even for a 5Mp model on one occasion.
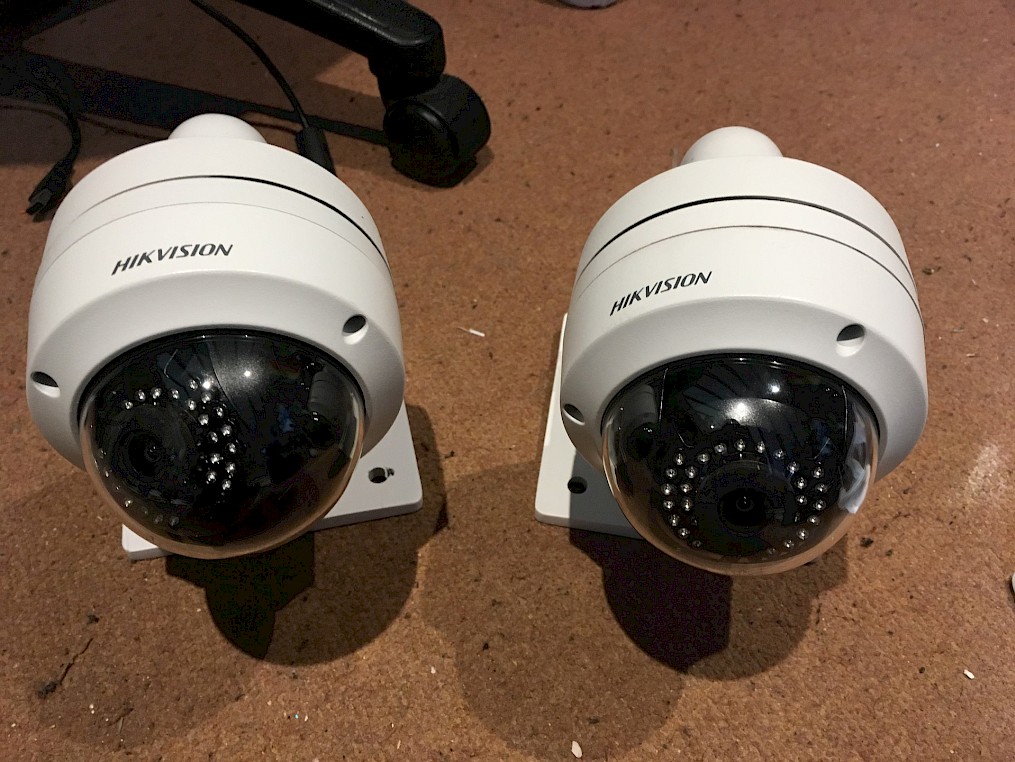
By far the cheapest models are the vandal domes and that's good as their my favourite in terms of looks and ruggedness. I picked these 2x DS-2CD2132F-I 3Mp cameras for only £30 each including the wall mounts I need to mount onto a marquee tent pole with good ol' cable ties.
I also got a cheap DS-2CD3132-I which is basically a graymarket DS-2CD2132-I for only £29 with a slightly melted dome which is perfectly fine for this pop up operation. and in addition to them 3x cameras I threw in one of my spare DS-2CD2135FWD-I domes in just in case we need 4x cameras.
so really I have spent £90 on 3x cameras and threw in one my spares which I think cost me £60 on the dot. that's very cheap for the image quality you can get out of these cameras.
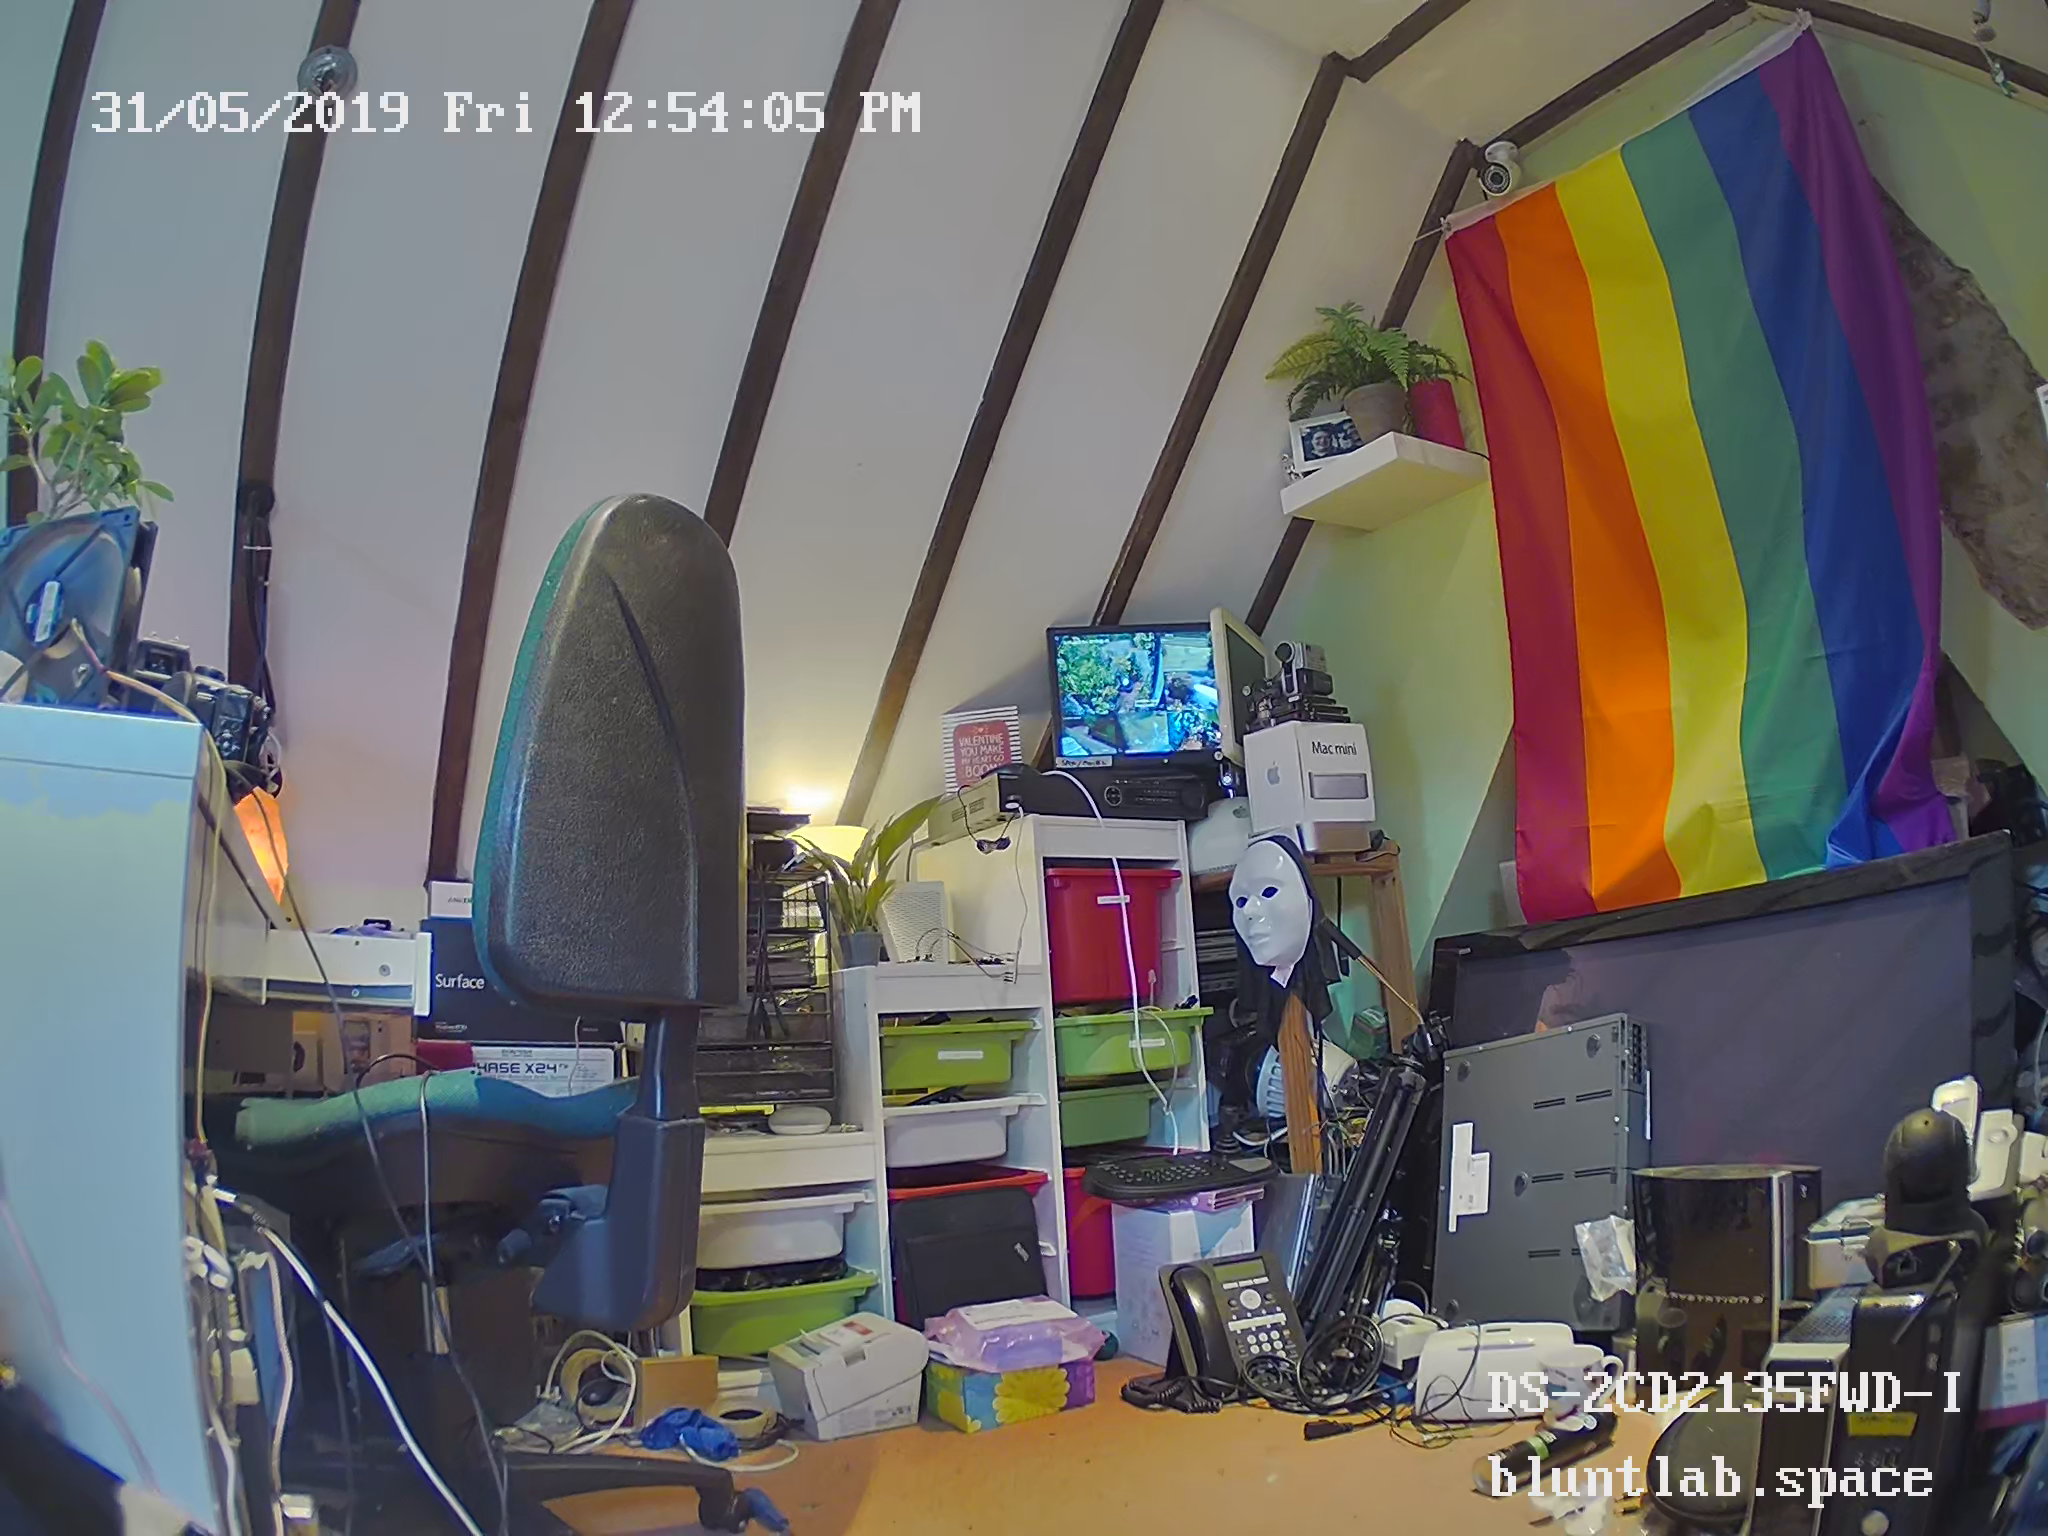
As you can see from this screen grab (click for full detailed 3Mp image which is about 3Mb in size) its highly detailed as you can see. and the image quality even on the oldest camera here is just as good (although the DS-2CD2135FWD-I is the only one with true WDR hence the WD in the model number)
More importantly these cameras feature a handy NAS connection feature which allows you to store the videos on an NFS or SMB compatible file server.

This acts exactly like you inserted a memory card in the camera but works out cheaper as decent memory cards are quite expensive and one of the camera does not even have an SD card slot so NFS was the answer.
With this plan I could use a cheap 240Gb SSD which cost about the same as one 64Gb memory card from Hikvision so we get enough storage for a week of footage for 3/4 cameras easily with motion only recording.
Time for NFS
So now it was time to setup the NFS side. we could of reused the old NAS but we wanted to move to lower powered SSD storage to increase runtime over the old spinning rust we used to use and the Synology used quite a bit of power and was not suited for this small application it was a good v1.0 to trial the idea but we needed a faster more lightweight setup.
I settled for a Raspberry PI for this. their not perfect but as we only need an NFS server it is perfect with a USB enclosure for our 2.5" SSD. and as a bonus we can use it with a cheap HDMI monitor to display the live feeds to people to show that our camera system is not just for show.
Setting up the NFS side is pretty simple just install the server package and start/enable it
sudo apt install nfs-kernel-server

sudo systemctl enable nfs-kernel-server

sudo systemctl start nfs-kernel-server
Now that is the easy part. Hikvision cameras demand the entire drive to themselves. if the OS or something else modifies a file the camera stops using it. real pain but the solution is simple and I found it here http://techinfoguy.com/2017/01/26/hikvision-camera-ds-2cd2042wd-nas-storage-did-not-initialize-solution/ but essentially you just need to do the following
dd if=/dev/zero of=cam1.img bs=1 count=0 seek=50G

mkfs.ext4 -F cam1.img

mount cam1.img /mnt/cam1

rm /mnt/cam1/lost+found -R
This creates a 50Gb image file and mounts it for us. we can then add this line to /etc/exports to expose via NFS
/mnt/cam1 *(rw,sync,no_subtree_check)
Then run exportfs -a to make the changes. at this point you can add it to your Hikvision camera like in the screenshot above making sure you change the paths for each camera you want.
You will need to format the mount in the camera too. I also set it to use 100% of the storage for recording instead of the default 25% for photos and 75% for videos.
In addition you will want to add the following to your /etc/fstab to make sure it remounts on reboot
/dev/sda1 /mnt/180ssd ext4 defaults,nofail 0 0

/mnt/180ssd/cam1.img /mnt/cam1 ext4 defaults,nofail 0 0
The first line mounts the usb SSD and the 2nd line mounts our first img file. notice I have added the nofail attributes to this so that if the USB drive or the img files don't mount right it does not halt the PI in startup it will just not mount which I have yet to see happen with my test bed of 2x cameras. can restart it all I want without it failing.
The rest of the setup is much like any other Hikvision camera with SD card. setting up motion detection and by default it will record on events. you can then playback the footage in the web UI on the camera.

Overall I am very pleased with this simple setup. Now its not perfect NFS has no authentication so could be an attack vector. but the risks are low and you can limit each mount point to only 1 IP address which helps a bit but the reality is this is on a closed network which most people connected too have no idea what Linux is let alone NFS so i think we are safe.
The total cost for this setup was less than £140 for a 3x camera system with enough storage for a week of recording. not too bad and it gives much better quality over the old 720p cameras and does not need activeX to configure very happy with the outcome of this.
I will try and do a video of this setup which I will embed here once finished